Search This Blog

Thursday, November 29, 2012

Blog on Hold


Hello to all the readers out there. Just letting you know that I will be taking a temporary hiatus until 2013. The end of the year fast approaches bringing with it all the hustle and bustle of Christmas and New Year. In the meantime I am going be extra busy with our new home which we shall be moving in to this weekend. I cannot wait to start cooking up a storm and taking pics for the blog in our new kitchen. Here you see a pic of the cook top in its most pristine condition. After tomorrow it will never be the same.
See you in the new year!

Monday, November 19, 2012

Lamb Rogan Josh


Some may regard Rogan Josh as the epitome of Indian Lamb curries.  You would be hard bent not to find it as a regular offering at your local Indian takeaway or restaurant menu.  It is the Butter Chicken of lamb dishes, for the Western world anyway!  Obviously due to its popularity, the dish has gone through countless iterations and ingredients can vary slightly, depending on who you speak to. The origins of the dish are notably from Persia and it was introduced to the Mogul kings in the Kashmir region of India.  Persian influenced dishes are favourably sweeter that the usual hot curries conjured up in the sub-continent's many kitchens.  Unlike many other dishes that get their sweetness from dried fruits and ultimately - the addition of sugar, Rogan Josh lends its sweet notes from the aromatic spices in its list of ingredients.  The name of the dish translates loosely to describe something "cooked in oil under intense heat".  I feel this is actually more of a misnomer than an explanation, as I am pretty sure most Indian curries are cooked in oil and under heat.  Nevertheless, the name has stuck and is firmly imprinted onto palates worldwide, none more so than an old colleague of mine who practically kept the local Indian takeaway in business by his frequent ordering of this dish repeatedly.  I promised him about a year ago I would get him a good recipe for Rogan Josh, so I hope it's not to late and he still reads my blog.  Here is my version of Rogan Josh or better named Sweet and Spicy Lamb - Nah! Doesn't have the same ring to it!   
Ingredients
1.2kg x Lamb, with bone, cut into rough chunks
1 tsp x Green Cardamom
2 pods x Black Cardamom
1 tsp x Black Peppercorns
1 tsp x Fennel Seeds
1 tsp x Cinnamon powder
3 whole x Dried Kashmiri Chillies (substitute 2 tsp x paprika)
2 tbsp x Ghee 
2 x Bay Leaves
2 pods x Black Cardamom
1 stick x Cinnamon
4 x Onions, finely chopped
4 cloves x Garlic, crushed
1 inch piece x Ginger, grated
2 tsp x Garam Masala
2 tsp x Sweet Paprika
1 tbsp x Salt
1 cup x Natural Yoghurt, extra half cup if required
1 cup x Water
1 bunch, Coriander leaves
Directions
Combine the seeds of the green and black cardamom with the peppercorns, fennel seed, cinnamon, and dry chillies in a spice grinder or mortar and pestle
Grind to a fine powder and rub over the lamb pieces, allow to stand for at least an hour

In a wide frypan or wok heat the ghee then add the bay leaf, cardamom and cinnamon, fry for 30 seconds
Add the onions and fry, stirring frequently, until they are dark and caramelised - do not burn!

Add the garlic and ginger and fry for another 2 minutes then add the paprika and salt
If the mixture starts to dry add a little water to retain a little moisture as you fry
Place the lamb into the wok, folding the curry mixture through it 
Pour in the yoghurt a little at a time, incorporating it gradually

Add a little water if required to just cover the lamb, stir to combine then bring to the boil

This is now the time to transfer the lamb and spices to a heavy pot to slow cook it in

Turn heat down and simmer covered for 1 hour and 15 minutes, stirring frequently to prevent the bottom catching

In the final 5 minutes of cooking add the coriander leaves and stir through.
Serve with piping hot naan bread or a bed of basmati rice. 

"As mentioned before there are a probably hundred ways to make Rogan Josh and who's to know the correct one - possibly a native!  This recipe follows the traditional spice and yoghurt ingredients typical of Persian cuisine.  Some variations include tomatoes and tomato paste which gives the dish a different taste again due to the acidity.  I have also come across a recipe which does not use onions and this impacts the overall sweetness."   


Monday, November 12, 2012

Prawn & Saag - an old favourite

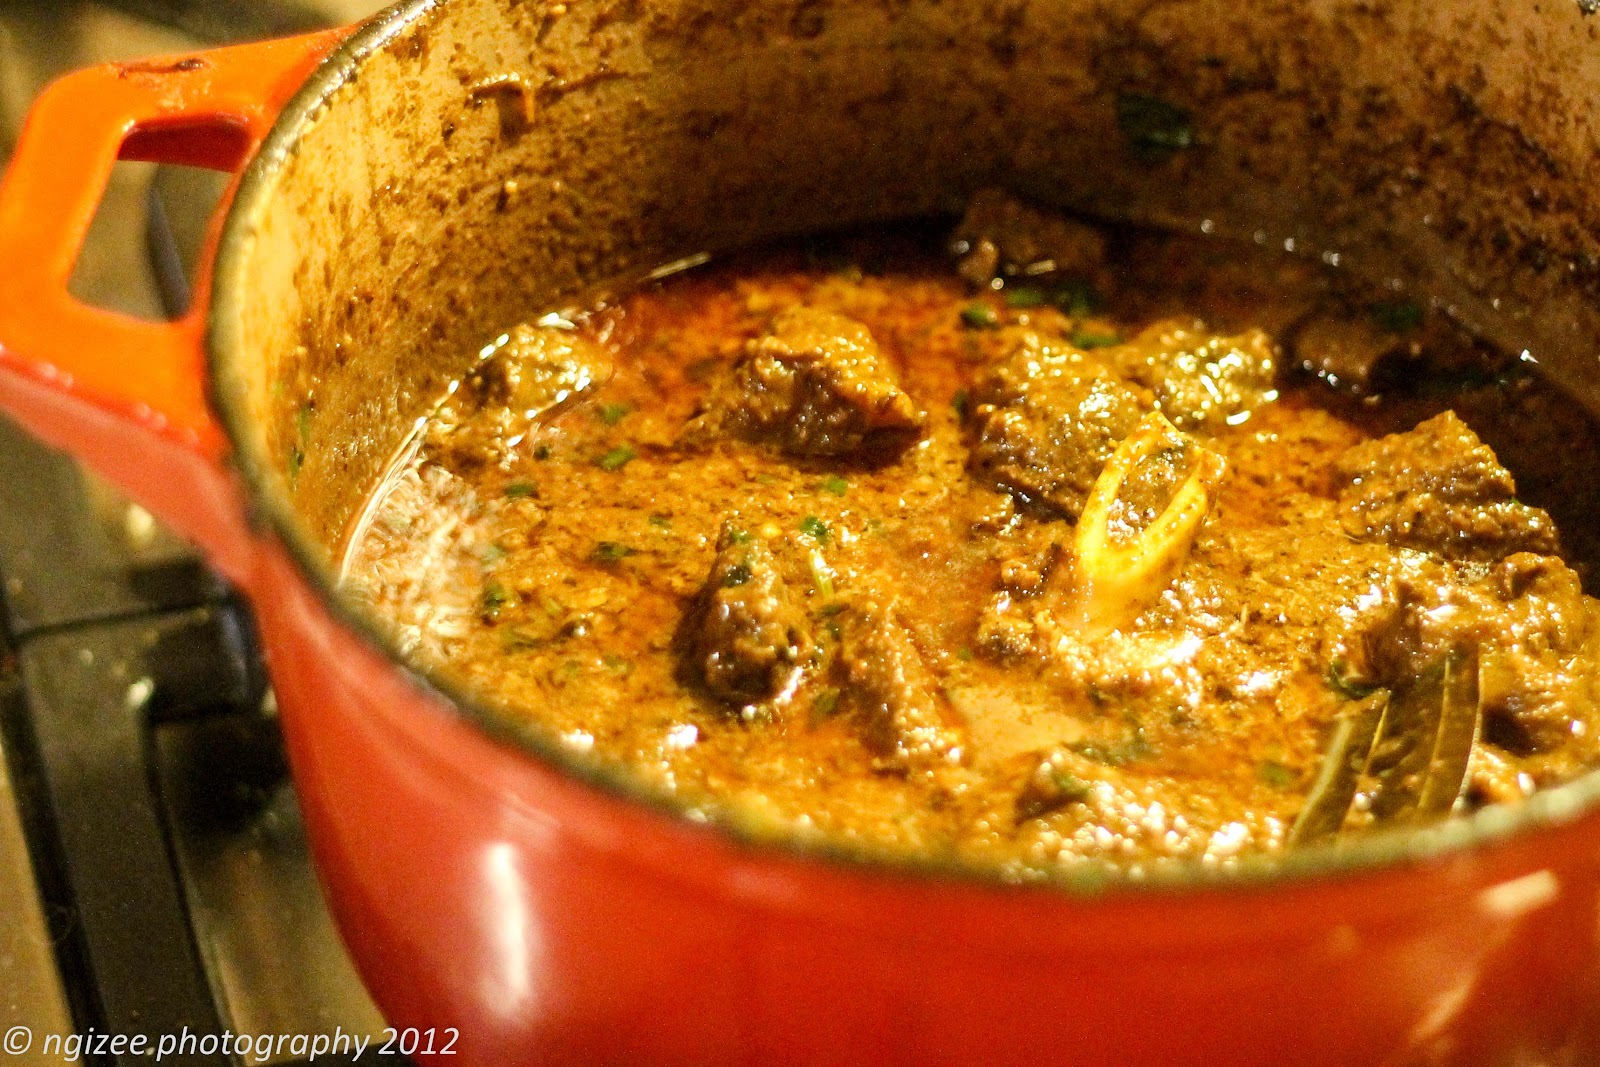
I never say no to a prawn dish and when it comes to this curry or 'bhaji', it is another one of those special dishes from my childhood that I remember well.  Saag  pronounced "sarg" is the collective name of a number of green leaves that are wilted through curry dishes like this one.  The most common and familiar is probably spinach but there is vast array of others like mustard leaf and pumpkin leaf too.  Asian green grocers stock many of these varieties which they sell predominantly to their community since they know exactly how to use the different 'saags' in various dishes.  Lal Saag is the leaves of the Amaranth plant - hence the colour - and it is very hard to come by in Australian markets.  Lucky for me, my mother-in-law has been growing a patch of  the red stuff for some time and I frequently get to feast on this delicious dish during harvest time.  Other times of the year this recipe works just as well with regular English spinach although it is not as sweet.  There are minimal spices here as much is relying on the marriage of fresh juicy prawns and the natural sweetness of the saag. 
Ingredients
500g x Prawns, fresh cleaned and shelled
1 tsp x Turmeric powder, plus 1 tsp extra
Salt to taste
500g x Lal Saag or your choice of dark leafy greens
2 tbsp x Mustard Oil, substitute for a fruity olive oil
1 tsp x Mustard seed
1 x Onion, peeled and diced
2 cloves x Garlic, crushed
1 x Chilli, seeds removed and sliced finely
Directions
Sprinkle the turmeric evenly over the prawns and add a pinch of salt
Allow to stand for 5-10 minutes
Heat a tablespoon of oil in a wok and toss in the prawns
Lightly cook for about 3 minutes then remove prawns from heat and reserve
In the same wok add the other tablespoon of oil and allow to heat on medium
Add the mustard seeds and stir until they begin to crackle and pop
Follow with the onion, cooking for about 5 minutes
Now add the extra turmeric, garlic and saag folding through to combine
Place a lid on the wok and allow leaves to wilt for about 4-5 minutes
Now return prawns to the wok stir well to combine for 1-2 minutes
Add the fresh chilli and serve hot on a bed of steamed basmati rice.
"This is a very simple version of this dish but it does not discount from its delicious taste.  Check out one of my earlier posts called Silverbeet & Prawn for a more elaborate version that involves a lot more steps but the result is well worth it."

Tuesday, November 6, 2012

Baba Ganoush - Spiced Eggplant Dip


Here I go with yet another dip recipe, but I can't seem to go past this one as it was a definite highlight of the last cheese and dip platter I had going at supper not long ago. And by supper I mean the meal you have, well after dinner time, when you are supposed to be sleeping, but find yourself craving something moreish (we've all been there!).  With summer approaching here and the days getting longer, it calls for less time in the kitchen and more time outdoors.  Home-made dips are the best for when you want something flavoursome, and you want it quick.  Whip a dip up in no time and tear up some flatbreads, slice some crusty sourdough or just open a cheeky pack of crackers to enjoy.  Many Middle Eastern and Mediterranean restaurants start their meal banquets with dips as an entree - and I hate when they only give you a teency-weency bit of dip - especially if it's good. My home-made dips allow for abundance so you needn't miss out. Check out a previous post Four Dips worth Double Dipping.
Ingredients
1 large Eggplant, use a small knife to slice a few vertical lines to allow for heat to escape (otherwise it will explode in the oven)
2 tbsp x Olive Oil
2-3 tbsp x Tahini
2 cloves x Garlic, crushed
2 tbsp x Lemon juice
1 tsp x Cumin powder
Salt to taste

Olives for garnish (optional)
Directions
Turn on the grill section of your oven (or broiler depending on where ya from!)

Put the eggplant in a heatproof dish and place under the grill for about 30-40 minutes or until the inner flesh collapses, 
Be sure to turn every 10 minutes to ensure it cooks evenly
You may want to blacken the skin over a gas flame but this is optional (I reccommend it for the exceptional smoky flavour it develops)
Wrap the eggplant in cling wrap and allow to cool for about 20 minutes
When cool enough to handle remove the skin and mash up the flesh
Place all ingredients into a food processor with the eggplant and pulse to combine

Adjust seasoning to taste - add extra salt, lemon or olive oil if desired
Serve with your choice of bread and enjoy with some olives on the side

Baba Ganoush will keep for up to a week in a sealed container at the back of the fridge
"I love the mellow depth of flavour that comes from smoking the eggplant - the dip takes on a sweetness unlike no other, and the lemon and cumin compliment it perfectly."

Thursday, November 1, 2012

Kari Ayam - Indonesian Chicken Curry


Yet another Indonesian chicken dish to post about and this time it is a wet curry from the region which is just heavenly with a bowl of steamed rice. I have been meaning to post this one since last year. Kari Ayam is just as easy to prepare as Chicken Rendang and almost has the same ingredients. Fresh turmeric really adds the appeal to the dish and not to mention, the colour.  Once again, I have adapted it for one pot - one blender, cooking to make it easy. Now I know that traditionally, the joy in preparing an Indonesian or Malaysian dish begins with a lot of grinding of the ingredients in a mortar and pestle, and I am not one to dispute that. But when you are pressed for time but still want to eat quality worldly cuisines then the food processor becomes your best friend. As long as your ingredients are fresh, then this always beats opening up a bottle of a preservative-laden, taste-lacking excuse for a curry sauce, instead.
Ingredients
1.5kg x Chicken pieces
500g x Small Potatoes, peeled and halved
1 quill x Cinnamon
2 tbsp x Cooking Oil, extra for frying the paste
4-5 x Red Chillies, remove the seeds if you want it milder
2 x Onions, quartered
4 cloves x Garlic
5 x Candlenuts
1 inch piece x Fresh Turmeric, sliced (1 tsp x powder to substitute)
1 inch piece x Ginger, sliced
2 inch piece x Galangal, sliced
2 stalks x Lemongrass, white parts bruised
2 tsp x Cumin powder
2 tsp x Coriander powder
1 tsp x Fennel seeds, roasted then ground
1 tsp x Nutmeg powder
5 x Cloves
1 tbsp x Balachan (Shrimp paste), dry roasted
1 tsp x Salt, more to taste
4 tbsp x Sugar

2 x 400ml cans of Coconut Milk 
Directions
Reserve chicken, potatoes and cinnamon aside
Place all other ingredients in blender or food processor, with just half of the coconut milk and blitz to a smooth liquid
Heat a heavy pot on high with a 2 tbsp of oil

Add the paste mixture to the pot and fry for about 3 minute
Add the chicken, potatoes and cinnamon, bring to the boil
Pour in the remaining half of coconut milk, bring to the boil again
Lower heat and simmer covered for 45 minutes
Remove lid turn heat up and reduce sauce slightly to desired consistency 
Check seasoning adding extra salt or sugar if required
Serve piping hot with steamed rice - very very comforting!


Saturday, October 27, 2012

Indonesian Style Chicken Rendang


It didn't take me long to go back to posting Asian based recipes - bias much? But the heart does what the heart desires - or something like that! This is my take on Indonesia's Rendang curry - I have already expressed my undying love for Malaysian style Beef Rendang in a previous blog post, so this here is an extension of that pledge, that extends to the Indonesian version which is notably drier and has a few more spices.  Nevertheless, a truly spectacular dish in its own right, just bursting with flavour and spice that secures Rendang as my all time favourite curry, hands down. This version is extremely easy to cook up despite its long, scary list of ingredients, and it's practically a one pot, one blender type of dish - trust me it's all good!
Ingredients
10 x Chicken Drumsticks, equating to 1.5 kg of Chicken pieces if you wish
3 x Star Anise
1 x Onion, roughly chopped
3 cloves x Garlic
3cm piece x Ginger
3 x Dried Chillies, soaked in hot water (Add more if you like more spice)
2 stalks x Lemongrass, white part crushed
2 tbsp x Belachan, dry roasted
2 tbsp x Tamarind Concentrate
1 400ml can x Coconut Milk
2 tsp x Dark Soy Sauce
4 tbsp x Fish Sauce
1 tbsp x Coriander Powder
1 tbsp x Cumin Powder
1 tsp x Turmeric powder
2 tsp x Cinnamon powder
Large Pinch x Nutmeg powder
Pinch x Clove powder
1 tbsp x Sugar
1 cup x Dessicated Coconut, lightly dry roasted
4-5 x Lime leaves, cut finely for an optional garnish  
Directions
Place the chicken and star anise in a heavy pot 
Now place all other ingredients, except the dessicated coconut and lime leaves, into a blender and blitz to a smooth, even paste
Pour the paste over the chicken distributing it evenly in the pot
Allow to marinate for 2 hours so that the flavours develop
Place the pot on the stove and bring to the boil

Reduce heat and simmer covered for 45 mins
Remove lid and stir in the dessicated coconut, reserve a little for garnishing later

Increase heat and allow sauce to dry up gradually
Keep stirring and scraping the sides and bottom of pot to prevent catching
After 10 minutes remove the chicken to a serving dish and continue to dry up the sauce
Sauce is ready when it is a coarse, spreadable consistency
To serve, spread the sauce onto the chicken pieces and garnish with extra coconut
Finally garnish with the finely cut lime leaves if using


"It surprises me how delicious this dish is and even more surprising is how easy it is to prepare. It's biggest plus is the one pot cooking method - which is truly rare for me."

Wednesday, October 24, 2012

Portuguese Style Grilled Chicken...100th post

This post is a milestone for my blog as it is actually my 100th post. It has taken forever to get here as I have come to realize that food blogging is not an easy thing. It is soooooooo time consuming! And as if cooking didn't take long enough; taking top shot photos of the dish and then writing about it and actually publishing it means you really need to manage your time effectively.  Something that I have not been able to do too well considering I do have a life outside food!  Although this sounds like I'm talking about throwing in the towel on blogging - trust me, I ain't!  On the contrary, I take pride in my little piece of the web and after 100 posts and nearly 30,000 views, I can think of nothing better but to go on and fill cyberspace with more and more of the foodie gems of life that I have uncovered and wish to share with the world wide network.  So like or not I am here to stay!
To commemorate the 100th post I have chosen a real favourite dish of mine.  This is my version of Portuguese style chicken - yes the kind you get at that famous place that rhymes with "Dandos".   I have made this a number of times and it is a hit with all chilli lovers.  The secret is in the marinade - get your hands on a bottle of pickled peri peri chillies.  It's what seperates this dish from other regular grilled chicken dishes.  You can make it completely in the oven, but the second grilling is what imparts that sought after charred flavour.

To make the marinade. Blend the following in a Food Processor:
5 x Peri Peri Chillies (If you like it hot then add more and get ready to sweat)
Alternatively you can use 10 x Red Chillies (if you like it mild use the less hotter ones..and less chillies of course)
4 cloves x Garlic
1 Tbsp x Dried Oregano
Juice & Zest of 1 large Lemon
A good splash of Olive Oil (to get the marinade all creamy)
A pinch of Salt to taste   
1.5 kg Chicken pieces, 
Directions
Combine the marinade ingredients with the chicken in a bowl and leave in the fridge overnight for best results - if you're in a hurry then prick the chicken all over and marinate for a couple of hours - not as good but will suffice
Heat the oven to 200 degrees celcius
Remove as much marinade from the chicken and place the chicken pieces on a wire frame over a roasting tray, this will ensure that the chicken cooks evenly and the dripping juices are caught
Cook chicken in the oven for 1 hour turning over and basting with the drippings every 15 minutes
Put the leftover marinade into a saucepan and bring to a boil then reduce to a thick saucy consistency
Now the dish can be completed here if you choose, all you have to do is baste with the marinade reduction and cook in the oven for a further 10 minutes on each side then serve
The second grilling - do this if you want that grilled taste and charred flavour just like the shop's - I love it!
Heat a grill pan, heavy frypan or bbq hotplate
Baste the chicken pieces with the marinade and fry on each side for 3-5 minutes
Serve piping hot with a wedge of lemon and a napkin to wipe the sweat.
Warning: Chillies and high heat equal a lot of smoke - so unless you have an industrial strength rangehood or lungs of steel, I recommend this step be completed in a well ventilated area like the backyard so you can make the neighbours jealous!      
Delicious, marinated, charred and devilishly hot for the taking - definitely not "Blandos"

Here's is a serving suggestion - The two piece feed - Spiced Rice recipe in the Basics page

Monday, October 22, 2012

Black Risotto with Calamari

I figured it was high time to post a dish that wasn't Chinese or Indian, just to prove to myself that Asian food was not my only forte. The inspiration for this dish came from a lunch that I had at the Pumphouse gastropub in the city fringe area of Brunswick. I was game enough to try a black risotto with prawn and bugs - the seafood kind not creepy crawlies! This was whilst my lunch companions relied upon their faithful pub grub orders of fish n chips, steak sangers etc. etc. Well, my boldness paid off, as what resulted was the kitchen turning out a delicious dish that was perfectly seasoned and generously dotted with well-cooked fresh seafood. It was also the first time I had tasted black squid ink in a dish, and despite my previous misconceptions of morbidity, the black risotto, as opposed to the usual off-white renditions, received my highest approval. I enjoyed every bit of it, much to the somewhat horror of the non-conformist fish n chip eating aficionados at the table.
Most good continental delicatessens usually sell squid ink and I came across a pack some time back at Casa Iberica. I have been meaning to cook Black Risotto for some time now.
Any risotto of mine needs is own special home-made stock. Sure, a carton of the ready-made kind would do, but for me that just doesn't cut it. I had to make my own fish stock. (Check the Basics page for the recipe)
So while the fish frames simmered into stocky glory it was time to pour a glass of white and get the rest of the ingredients prepared.  Feel free to follow the exact method of prep - wine goes hand in hand with black risotto in my book - but I am no food critic.
Ingredients
2 tbsp x Olive Oil
1 x Onion, finely diced
2-3 cloves x Garlic, finely sliced, extra clove for the Calamari
2 stalks x Celery, finely diced
1 cup x White wine
1 Litre x Fish Stock, kept at a rolling boil on the stovetop
2 cups x Arborio rice
500g x Baby Calamari, cleaned, tentacles diced, hoods sliced into rings
2 sachets x Squid Ink
1 tbsp x Butter
Parsley, roughly chopped
1 x Red Chilli, deseeded and chopped finely
Parmesan cheese, shaved
Directions
Heat the oil in a heavy pan then add the onions, garlic and celery
Saute for 2-3 minutes until the onions soften slightly, do not allow to burn
Bring the heat up to high, pour in the wine and reduce to a third
Add the chopped tentacles and half the sliced rings of calamari 
Follow with the arborio rice folding through the mixture to coat the grains
Pour in a ladle of stock and stir through the rice
Press out the squid ink from the sachets and combine well with the rice mixture
When the rice has absorbed the initial stock add another ladle and stir to combine
Repeat until almost all of the stock is used up then stir in the butter to give it a nice glossy sheen
Move the risotto to a serving dish and prepare the garnish
Heat a small frypan with a little olive oil add the extra clove of chopped garlic and fry for 30 seconds
Now add a small splash of white wine and reduce for a minute
Add the remaining baby calamari rings and fry until translucent and tender
Tip the rings neatly onto the waiting risotto and garnish finally with chopped parsley and chilli
Serve with shavings of Parmesan cheese and more white wine


Tips: A good risotto takes up about 20 minutes of absorption time
The rice grains should be almost completely soft but not entirely
After dispensing the final ladle of stock allow the risotto to stand for a couple of minutes
The mixture should be thick and clump well onto a wooden spoon


"I kept this recipe relatively simple with the calamari but for some added indulgence I highly recommend adding fresh prawns, scallops and/or baby bugs (if you can source them). These are not too overpowering in the fishy department and add a wonderful texture contrast to the dish"    

Saturday, October 20, 2012

Ma Po Tofu...the Mother Chen way!

It has been a long time between blogs and is been due to a host of reasons, which I won't go into as they are certainly not foodie related. I am back however and while I haven't been cooking a whole lot, I do have some "pearlers" of dishes waiting to be blogged.
Since the last post was Sichuan, I thought I might just keep the flavor going with another entry from Fuchsia Dunlop's "Land of Plenty" - the infamous Ma Po Tofu. This is a palate tantalizing dish that hails from the Sichuanese province and it has many stories that lay claim to is origin. In the book it is called Pock-Marked Mother Chen's Bean Curd - and I feel this reads as the most logical explanation. Mother Chen was a town cook whose face still bore the scars of a past bout with small pox. Her chilli bean tofu was renowned throughout the area and so the translated name of the dish was christened - Ma po dou fu - Dou fu is apparently the correct way to say tofu by the way!
I have grown a real fondness, of late, to bean curd in its many forms - I can thank my tofu loving foodie friend Miss A, for that.  The Koreans use a delicious spongy form cut into strips as part of a Bimbimbap meal, that I love to indulge in. There is also the custard-like, soft tofu drizzled with brown sugar syrup that feels almost too healthy to be a dessert. And I absolutely love the plump squares of fried tofu that soak up the juices in a spicy laksa.  The versatility of bean curd makes it a favourite ingredient of mine to use in Asian cuisine and Ma po Tofu just hits the spot with the inclusion of firm tofu as one of the key ingredients.
Fuchsia Dunlop's rendition from the famous Mother Chen instructs you steep the tofu in hot salted water and this is to ensure it holds its shape in the heat of the dish.  I have tried skipping this step to save time and the result is a dish with melted bits of tofu blending into the meat sauce which is not pretty at all.
Ingredients
300g x Firm Tofu, cut into cubes and steeped in hot salted water
500g x Beef Mince
4 tbsp x Cooking oil
4 tbsp x Chilli Bean Paste 
2 tbsp x Fermented Black Bean
4-5 x Spring Onions, cut into 1 inch pieces, extra to garnish
1-2 tsp x Chilli powder
1 cup x Chicken stock
1 tsp x Sugar
2 tsp x Light Soy Sauce
Salt, to taste, if required
4 tbsp x Cornflour, mixed with 6 tbsp x Cold Water
1 tsp x Ground roasted Sichuan Pepper
Directions
Heat a large wok on high with the oil and crumble in the mince
Stir fry continuously until the meat is well browned and the liquid almost dry
Turn the heat to medium and add the chilli bean paste stirring through for 30 seconds
Now add the fermented black beans and chilli powder and stir fry for another 30 seconds
Pour in the stock and bring to the boil then add the spring onions
Drain the tofu and add to the dish taking care not to smash the cubed pieces
Add the sugar, soy sauce and salt, to taste, swirling the wok gently to combine
Allow to simmer for 5 minutes then add the cornstarch mixture in thirds until the sauce has thickened to a desired consistency.  "It should just cling glossily to the meat and bean curd - Fuchsia Dunlop"
Place into a serving bowl and sprinkle the Sichuan pepper powder over the dish and garnish with extra spring onions


"I truly enjoy cooking and eating this dish.  The mellow texture of the tofu saturated with the spicy chilli bean flavoured oil and the overall tang really gets the taste buds singing.  Definitely a favourite from the Land of Plenty"