Search This Blog

Showing posts with label Chocolate. Show all posts

Wednesday, July 18, 2012

Chocolate and Ricotta Calzones...Oh so decadent!


For anyone with a sweet tooth, these sweet calzones are pretty hard to resist. Think of a Dark Chocolaty Cheesecake like filling, enveloped in a crispy pizza crust and then drizzled with White Chocolate Sauce. Truly decadent indeed, and definitely a wow factor to cap off an Italiano feast of pizza and pasta. The added bonus is that they smell so good baking in the oven and the anticipation is well worth the wait.
Ingredients, serves 6
6 x 75g balls of Pizza dough
300ml x Thickened Cream
200g x Dark Chocolate
200g x White Chocolate
300g x Ricotta cheese (The thick type works best)
200g x Cream Cheese
1 x Egg, separated and beaten
2tbsp x Caster Sugar
Directions
Preheat the oven to 230°C and place a pizza stone or oven tray to heat
Begin with the pizza dough rolled to about 4-5mm thickness
Use a plate or bowl to cut out circles of the dough

In a heavy saucepan, melt the white chocolate and gradually add half of the cream
Stir constantly until the mixture thickens to a sauce like consistency
Repeat the same steps with the dark chocolate in a clean saucepan
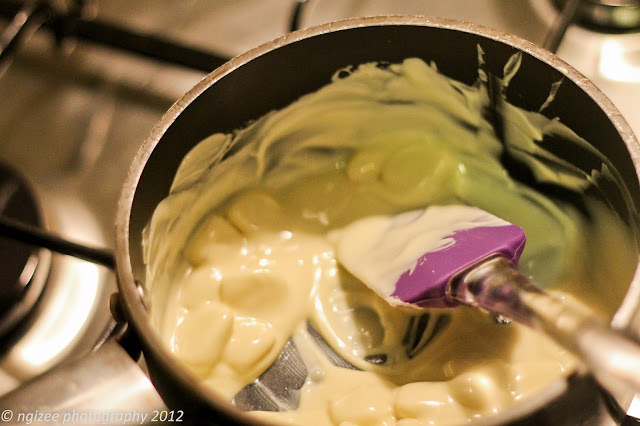
Blend the ricotta and cream cheese with the egg yolk and sugar until well combined
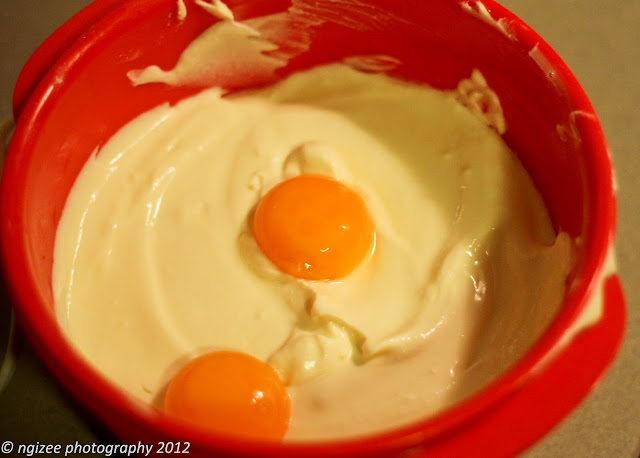
Place about 2-3 tablespoons of the cheese mixture in the lower half of the dough circle
Now repeat with the dark chocolate making sure not to overfill the calzone
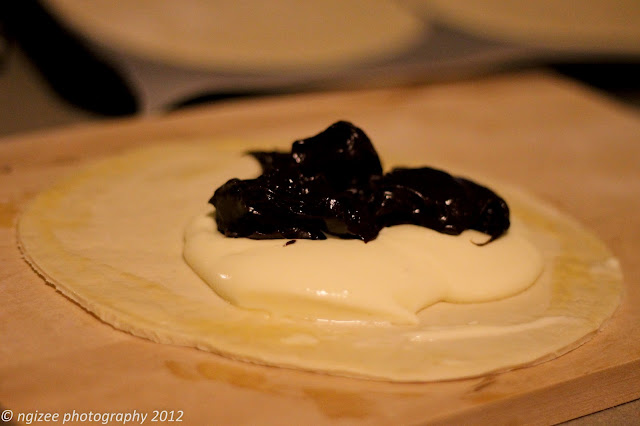
Brush the beaten egg white along the outer edge of the circle
Fold the top half over the filled half into a semi-circle and seal by crimping along the edges
Brush more egg white wash over the tops
Place carefully in the hot oven straight onto the preheated stone or tray and bake for 10-12 minutes
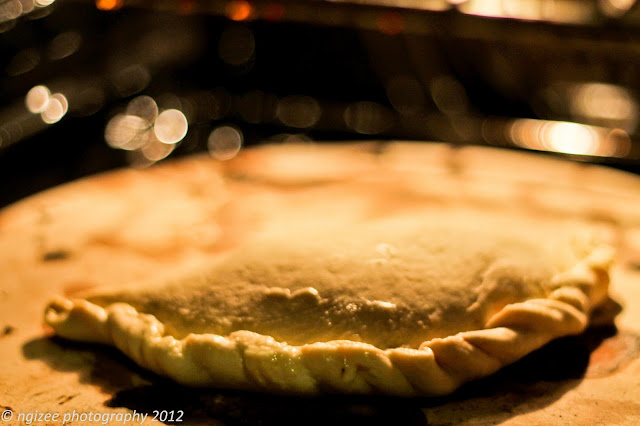
Reheat the white chocolate sauce to a pouring consistency and drizzle generously over the calzone before serving them up, piping hot.

Thursday, August 11, 2011

Filo Pears with Choc Hazel Filling


Sadly, I am not one who is known for his desserts (yet!!!). Whilst I am a big fan of the after dinner sweet, I usually eat desserts prepared by others. My brother is probably the chief dessert chef in our family and this is the dish he once prepared at my house a long long time ago. Of course he did not tell me then that he had used Jamie Oliver's recipe, which was probably a good thing because when these spectacular pears came out of the oven I remember being quite congratulatory of his creative efforts. A few years later I came across the recipe in the book and after giving him a ribbing for trying to pass it off as his own, I decided to put my own tweaks into the ingredients and come up with a new version. The beauty of this dessert is that although it has the look of something complex that you would have to take painstaking hours to get it to the table - in reality it is quite simple. Easy enough for an after work preparation provided dinner is already taken care of.
Ingredients: to serve 5
5 x Pears (I used Brown Pears as they have a neutral taste and contrasts with the sweetness of the dish)
75g x Dark Chocolate, chopped finely
250g x Butter (200g melted & 50g softened)
40g x Caster Sugar
50g x Hazel Meal (Hazelnuts crushed to a fine powder)
1tsp x Vanilla Extract
20 x sheets of Filo Pastry, approximately 25cm square
Directions
Preheat the oven to 175 degrees celcius.
In a small bowl combine the chopped chocolate, 50g of softened butter, sugar, hazel meal and vanilla. Mix well to a thick paste. Keep aside.
First remove the tops of the pear by slicing a lid about 2cms in width. Using an apple corer or a sharp knife (and knife skills to boot!) remove the core of the pear starting at the bottom. You should now have a hollow pear and a lid to cover.
Divide the chocolate mixture into 5 portions and fill the pear hollows. Replace the lid on the pear.
Prepare the filo wrapping by placing the first sheet on your bench and brushing it with the melted butter. Repeat this with three more sheets.
When you have a layer of four filo sheets, place a pear in the centre and bring the edges up around the top of the pear and squeeze the pastry gently to seal. Place on a baking tray lined with grease-proof paper.
Wrap the rest of the pears with the buttered filo pastry.
Place on the bottom shelf of the oven and bake for 30 minutes.
Serve these with a scoop or two of ice cream and an optional drizzle of butterscotch or caramel topping.
Tips: 
Choose the pears that are a little ripe to the touch as these will cook well and be softer than a more firm pear that will soften slightly but will still have a bit of crunch. I have had it both ways and the softer pear is less messy to eat as the dessert spoon cuts through it easily. The firmer pear takes a bit more work to cut but I prefer the crunch rather than the poached texture.